DIY Foldable Desk Plans – Step-by-Step Tutorials for Small Spaces
Looking for a workspace that saves space and adds function to your small apartment or home office? These DIY foldable desk plans will help you create a custom solution that’s budget-friendly, efficient, and perfect for tiny living spaces.
Benefits of a Foldable Desk
- Space-saving: Folds away when not in use.
- Cost-effective: Cheaper than most pre-built desks.
- Customizable: Tailor the design to fit your room and style.
- Satisfying: Build it yourself and enjoy the process.
Essential Tools & Materials
- Measuring tape, power drill, saw, level
- Wood panels (plywood or solid), hinges, screws
- Paint or wood stain for finishing
Step-by-Step DIY Tutorial
1. Plan Your Desk Dimensions
Start by measuring your available space. Make sure to account for how the desk will fold or collapse. A typical foldable desk can be 36″ wide, 24″ deep, and 28″ high.
2. Sketch and Customize
Design your desk with features that match your needs—like shelves, built-in storage, or a cable management slot.
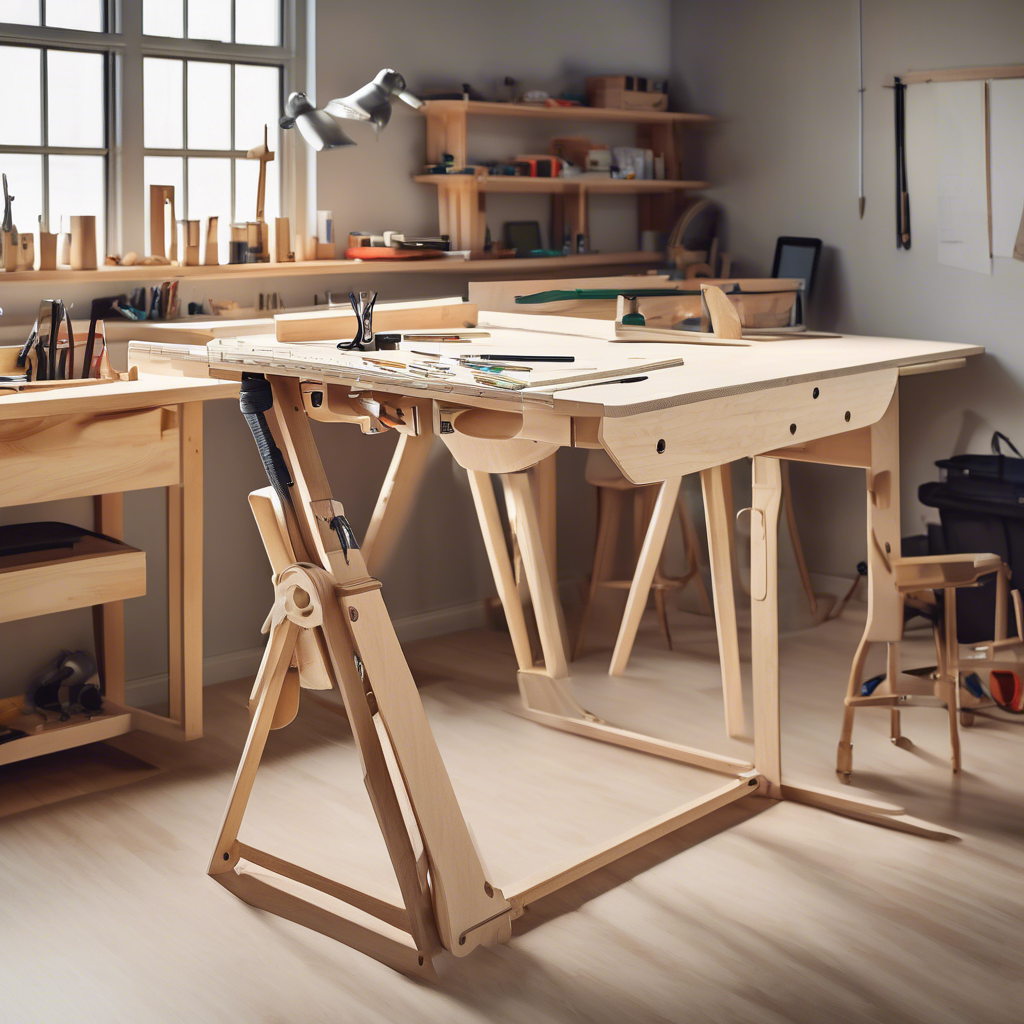
3. Build the Frame
Cut the wood to size and build a strong frame using wood glue and screws. Add support beams for stability.
4. Attach the Hinges
Install hinges at the connection points for foldable legs or a drop-down surface. Test to ensure smooth operation.
5. Sand, Stain, and Finish
Sand the surfaces for a smooth feel. Then apply paint or stain for protection and aesthetics. Let it dry completely before use.
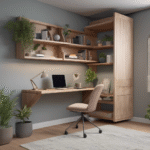
Creative Design Ideas
- Wall-mounted drop-down desks that blend into the wall when closed
- Fold-out ladder desks with vertical storage
- Multi-use desks with bookshelf or chalkboard front
Tips for Success
- Keep your work area clear and well-lit
- Use high-quality hinges for durability
- Always double-check measurements
Explore More Smart Furniture Ideas
- 10 Foldable Furniture Ideas for Small Apartments
- Smart Murphy Desk Ideas
- Ultimate Guide to Small Apartment Furniture
Final Thoughts
A DIY foldable desk is more than just a piece of furniture—it’s a smart solution for space-saving, personalization, and functionality. Whether you’re living in a small apartment or just love efficient design, creating your own desk is a rewarding and practical project.
For more tiny-living inspiration, visit Tiny Living Genius and explore our latest guides on space-saving furniture and design hacks.