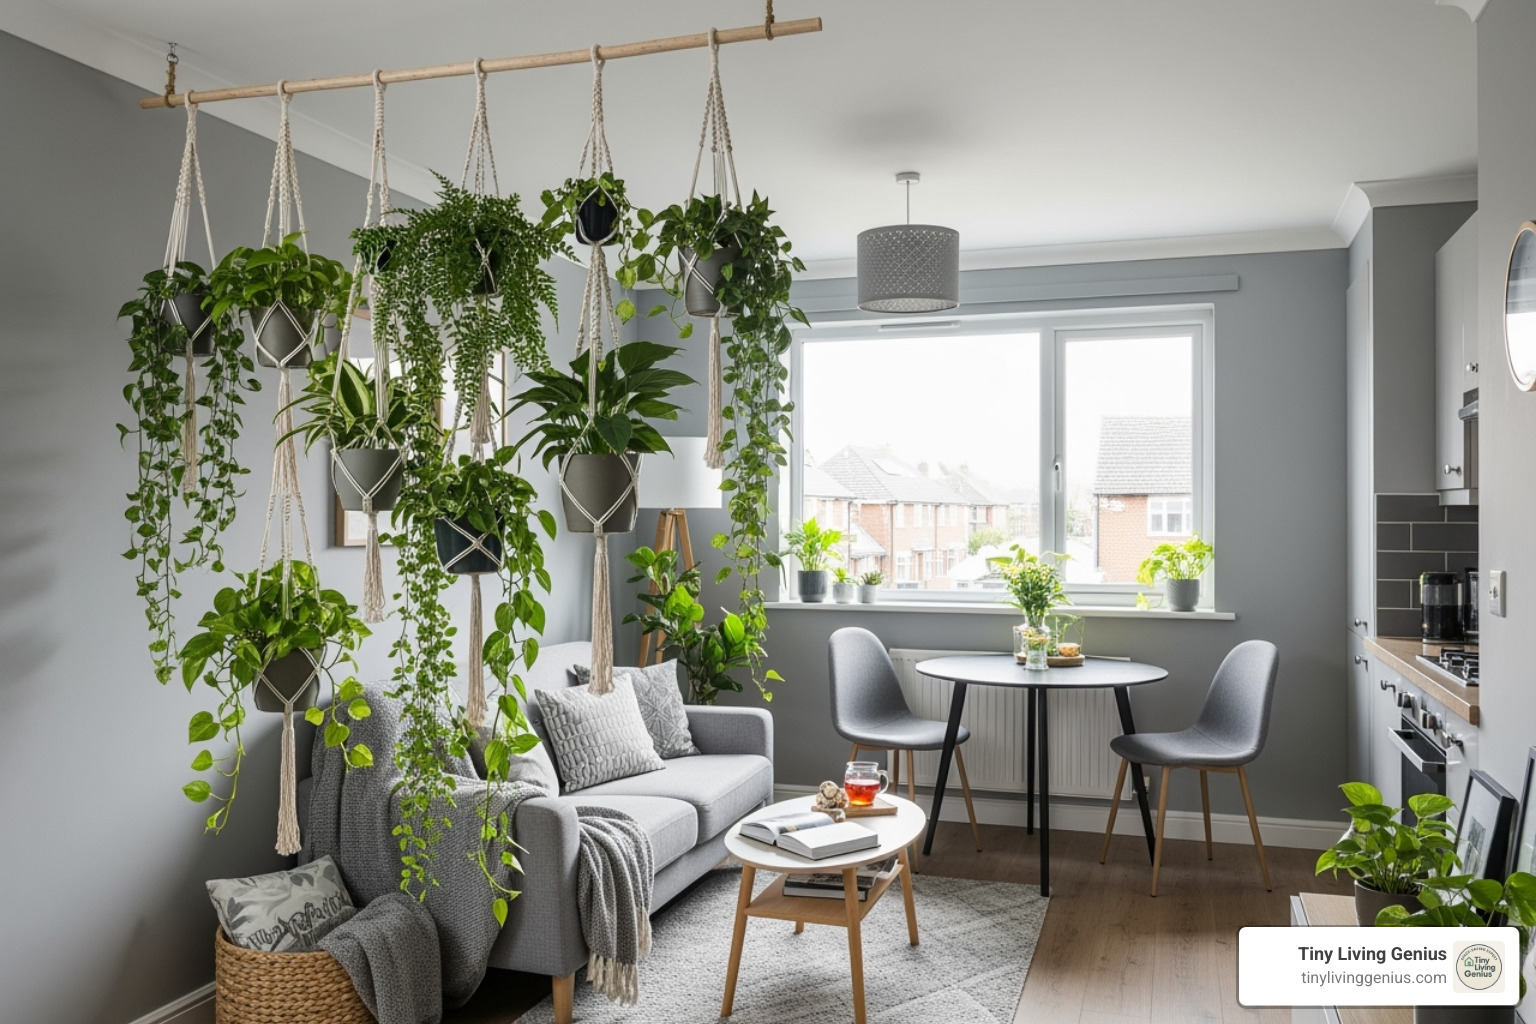
DIY Room Divider: 10 Creative Ideas
Transform Your Space with a Custom Divider
A diy room divider is an affordable, customizable solution to create separate zones, add privacy, and organize your living space—especially in studio apartments and open-plan homes. Here’s what you need to know:
Top DIY Room Divider Options:
- Curtains with tension rods – Easiest and cheapest ($25-50)
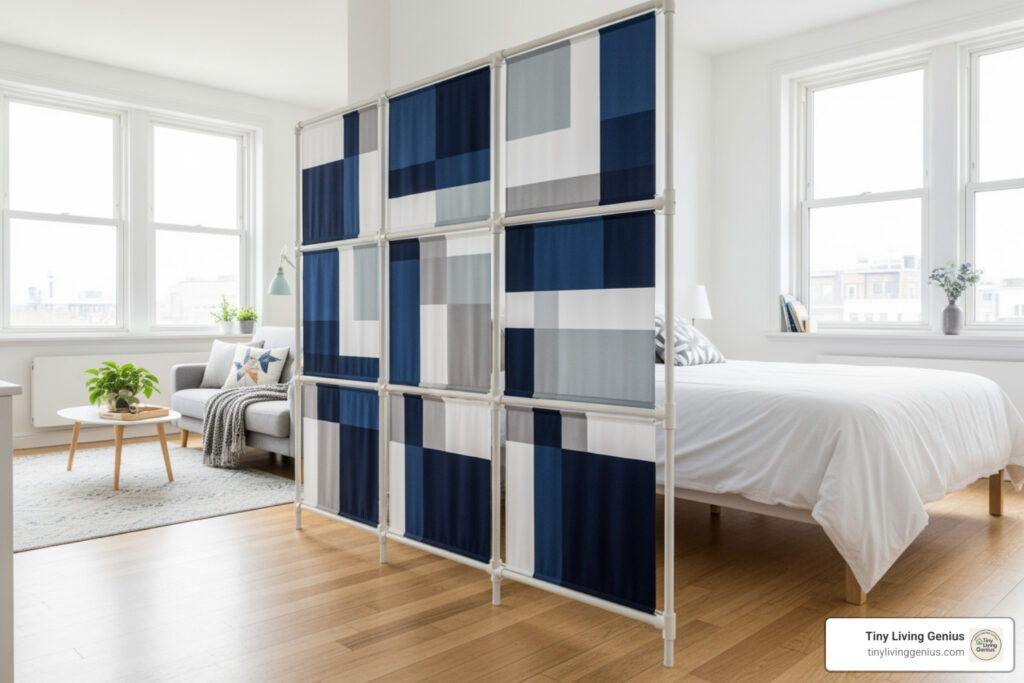
- PVC pipe frame with fabric – Lightweight and portable ($25-34)
- Bookshelf dividers – Functional storage and separation ($50-150)
- Folding screens with wallpaper or fabric – Stylish and flexible ($150-287)
- Rope or macrame walls – Trendy and light-filtering ($50-100)
In small apartments, room dividers are essential for defining distinct areas—like separating your sleeping space from your living room or creating a home office nook. They add privacy without sacrificing light. As one DIY enthusiast put it: “Sometimes we don’t need more space but rather make better use of the one we have.”
The beauty of DIY is its flexibility. You can choose materials matching your budget, skill level, and aesthetic, whether you need to block light or just create visual separation.
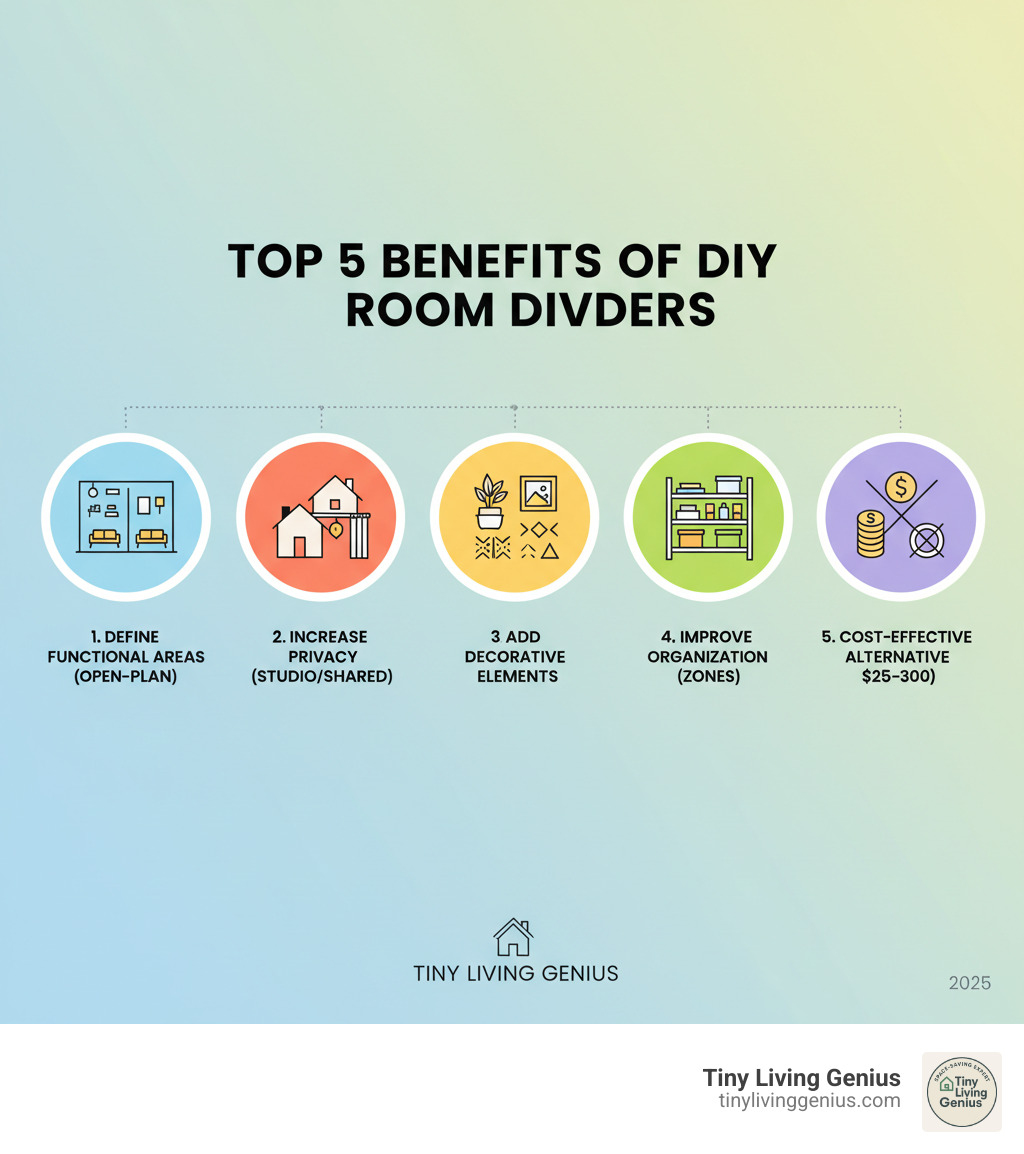
Key benefits include:
- Creating functional zones in open spaces
- Increasing privacy without permanent walls
- Adding storage and display opportunities
- Improving organization and reducing visual clutter
- Personalizing your space with unique designs
Most projects require only basic tools like a measuring tape, drill, and screwdriver, with costs ranging from $25 to around $300.
I’m Ramy Saber, a Civil Engineer and founder of Tiny Living Genius, where I specialize in smart solutions for compact living. Through my work designing diy room divider solutions and space-maximizing furniture, I’ve helped countless people transform their small apartments into functional, organized homes. Let’s explore how you can build the perfect divider for your space.
Similar topics to diy room divider:
- bookshelf divider ideas
- partition rack design
Planning Your Project: Materials, Tools, and Safety
A little preparation before building your diy room divider will save you time, money, and frustration. At Tiny Living Genius, we believe making your small space work smarter starts with choosing the right materials and tools.
Choosing the Right Materials on a Budget
You don’t need a huge budget to create a stunning diy room divider. The first question to ask is what you need the divider to do: provide complete privacy or just visual separation? Should it filter light or be solid? And what style matches your home?
PVC pipe is a budget champion, with projects starting at just $25. A simple PVC frame covered with fabric creates a lightweight, portable divider perfect for renters. The pipe is easy to cut and can be customized with any fabric. Some projects cost as little as $34 for all materials.
Wood pallets offer a rustic, eco-friendly vibe and are often free or cheap. After cleaning and sanding, they create a sturdy, character-filled divider. A frame for a jute rope divider using wood might cost $50 to $100.
Fabric dividers, like curtains on a tension rod or ceiling track, are simple, easy to install, and budget-friendly (from $25). They offer control over light and privacy—choose sheer fabric for an airy feel or heavier drapes for more seclusion.
Repurposed items like old doors, salvaged windows, or thrifted bifold doors can become stunning dividers. For example, antique window sashes on a ceiling track create separation while keeping the space bright, which is ideal for small apartments.
MDF panels provide a smooth canvas for paint, wallpaper, or upholstery. While the cost can be higher (a wallpapered project might total $287), you get a custom designer piece that acts like a movable accent wall.
Jute rope creates a trendy, organic divider that lets light through while defining zones. These typically cost between $50 and $100 and add visual interest without feeling heavy.
The right material depends on your style, privacy needs, and budget. Even basic materials can look amazing with a little creativity.
Want more tips on choosing pieces that work perfectly in compact spaces? Check out our comprehensive guide on how to choose the right furniture for your small space.
Essential Tools and Safety Precautions
You won’t need a professional workshop; most diy room divider projects require only a handful of basic tools.
Your measuring tape is your most important tool—measure twice, cut once. A drill or screw gun makes assembly easier. Depending on your materials, you’ll need a saw (wood, plastic, or jigsaw). Stock up on screws, nails, and adhesives that match your materials.
For a folding screen, you’ll need hinges. A level ensures everything is straight, while clamps hold pieces steady.
Now let’s talk about safety. For taller or heavier dividers, securing them to the wall is not optional. Use L-brackets attached to a wall stud to prevent tipping accidents, which can be dangerous. According to the U.S. Consumer Product Safety Commission, thousands of children are injured by tipping furniture each year. The IKEA IVAR hack for room dividers suggests using both Command strips and screws for extra stability.
Freestanding dividers need a wide, stable base. For bookcase dividers, place heavier items on bottom shelves to lower the center of gravity. Adding feet to panel dividers also improves stability.
For homes with children, choose materials carefully. Avoid sharp edges or tipping hazards. Soft fabric or rounded wood frames are safer. Always secure tall furniture to the wall.
When working, follow material-specific safety guidelines. Cut PVC carefully and use cement in well-ventilated areas. If painting, ensure good airflow and wear safety gear.
Taking these precautions means your new divider will be safe and stable for years to come.
| Material | Cost (approx.) | Skill Level | Privacy | Light Filtering |
|---|---|---|---|---|
| PVC Pipe | $25 – $50 | Beginner | Low-High (with fabric) | Low-High (with fabric) |
| Wood Pallets | $0 – $100 | Beginner-Intermediate | Medium-High | Low-Medium |
| Fabric | $25 – $100 | Beginner | Medium-High | Medium-High |
| Bookshelves | $50 – $250 | Beginner | High | Low |
10 Creative DIY Room Divider Ideas for Every Style
Now for the fun part: inspiration! A diy room divider is your chance to add personality and solve practical problems. These ideas will spark your creativity, whether you’re zoning a studio or just looking for a weekend project.
You control everything: privacy, light, and style. Some dividers are simple, while others make a bold statement. Let’s explore options for every skill level.
Beginner-Friendly DIY Room Divider Projects
These projects require minimal tools and deliver impressive results without stress.
Curtain dividers are the ultimate beginner project. Use a tension rod (no drilling required) or a ceiling track for a polished look. Swap fabrics to change your style, choosing sheer for light filtering or heavy drapes for privacy.
A PVC pipe frame with fabric is a simple, budget-friendly option (as low as $25). Cut pipes, connect them to build a frame, and attach your chosen fabric. You can even paint the pipes to match your decor.
Create a simple folding screen with MDF or plywood panels connected by hinges. Alternate hinge placement for an accordion fold. For a designer look, add paint or wallpaper; one DIYer made a wallpapered screen for under $300.
Hanging dividers save floor space and feel light and airy. Connect painted hardboard pieces with chains, or use softer materials like macrame or beaded strands to define zones without closing off the room.
Inexpensive reed fencing brings a natural, spa-like texture to any space. Trim it with wood for a polished edge and hang it from the ceiling to filter light beautifully.
How to Build a Functional DIY Room Divider with Storage
Why just divide space when you can also solve storage challenges? This is smart small-space living.
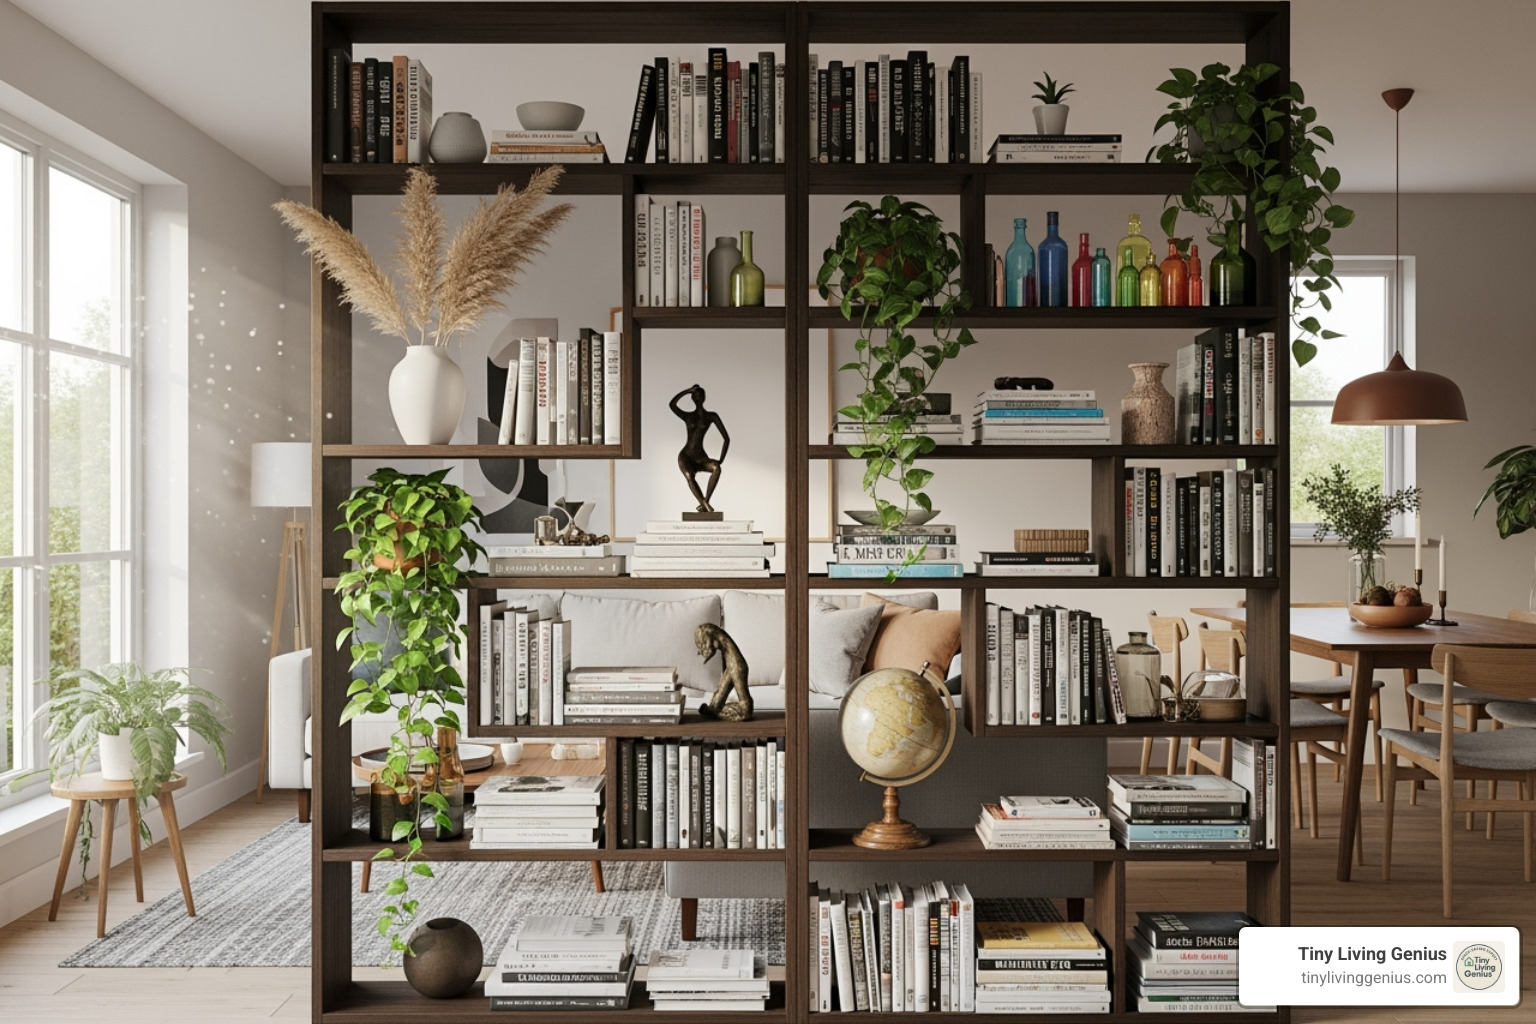
Bookcase dividers are workhorses, acting as a wall, storage, and display space. Rotate an open-backed unit perpendicular to a wall, secure it with L-brackets to a stud, and fill it. For more inspiration, check out our guide on partition rack design.
Create a multifunctional screen that adapts to your needs. Upholster one side for a cozy reading nook and paint the other with chalkboard paint for notes and drawings.
The IKEA IVAR unit transforms into a great storage divider. These modular units can hold shelves and create solid separation. Add translucent panels for light or keep it solid for privacy. This hack costs around $150-$250 and looks professionally designed.
Unique Dividers for a Statement Look
These creative ideas turn your diy room divider into a conversation starter.
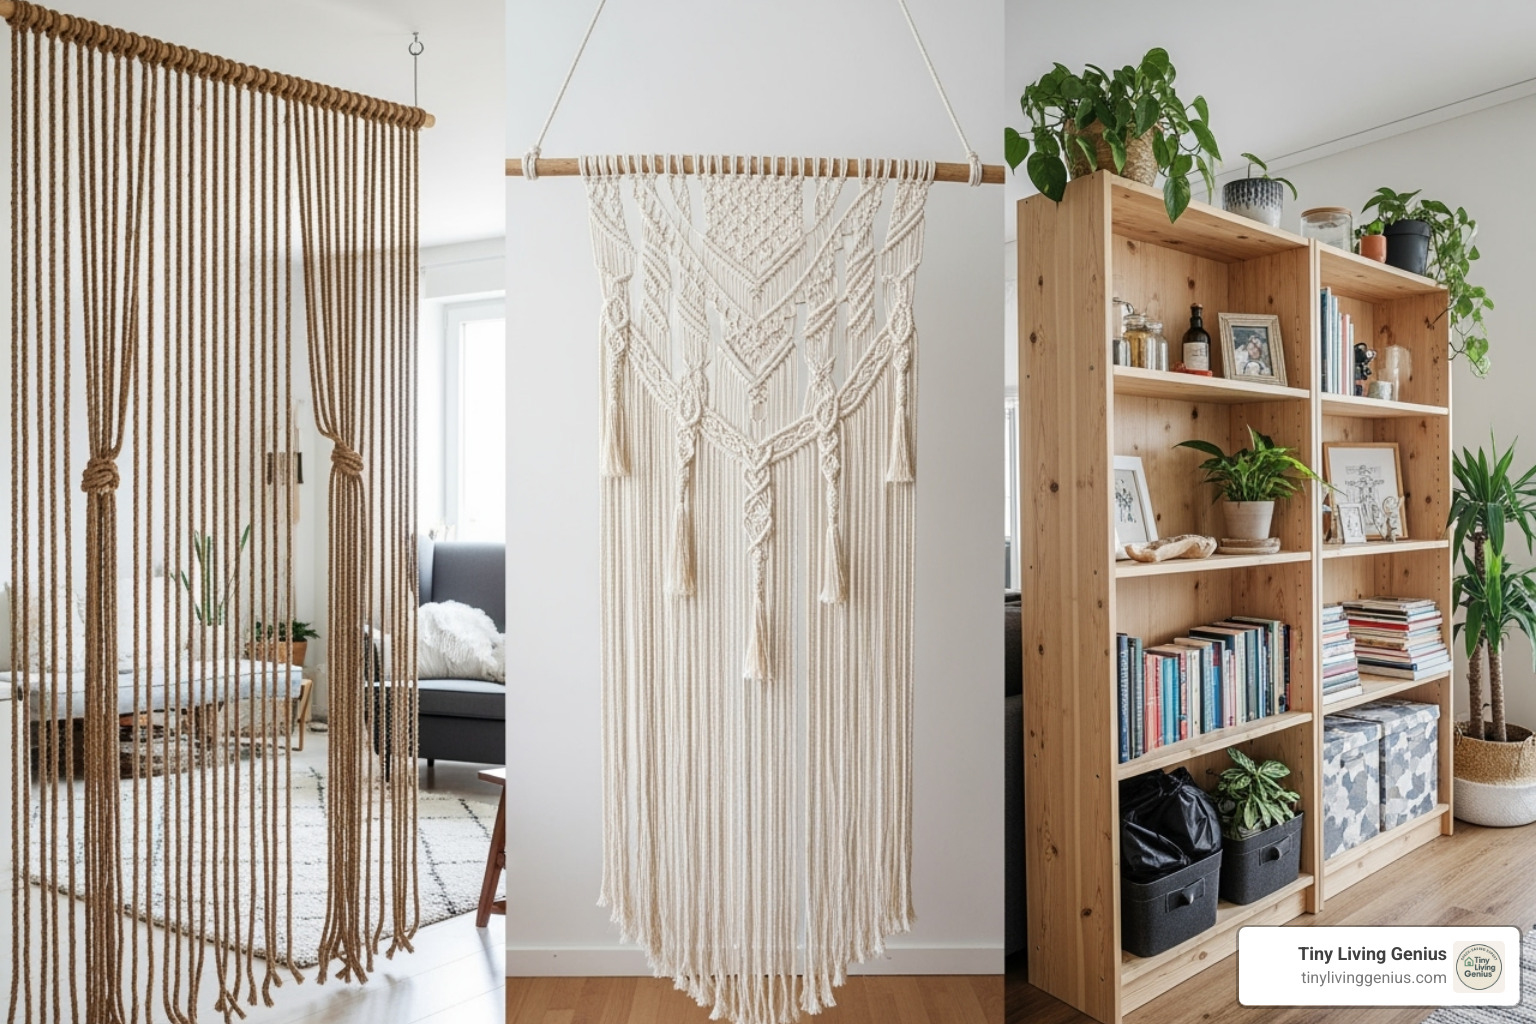
A macrame divider adds bohemian texture. Weave cotton cord into patterns and hang from a dowel. The design allows light and air to flow freely, casting beautiful shadows.
Rope walls are simple yet striking. Mount wood plates to the ceiling and floor and thread jute rope between them. This trendy look costs $50-$100 and adds warmth without visual weight.
Salvaged window dividers add vintage charm. Mount old window sashes on a ceiling track or hang them individually to define a space while keeping it bright.
Create a living wall with a vertical garden or plant divider. A clothes rack can be transformed into a flexible plant display. This approach divides the space, improves air quality, and adds a natural element. You’ll find more clever organizing ideas in our smart storage solutions for small spaces.
Wood pallets deliver rustic character. Assemble them into a folding divider with hinges. You can add nails as hooks for photos or plants, creating a one-of-a-kind piece.
For a more advanced project, a geometric fretwork screen offers an airy, designer look. The intricate cutouts cast interesting shadows, making the divider a dynamic element in your room.
The key is understanding your space and needs. Once you answer these questions, the perfect diy room divider project will reveal itself. At Tiny Living Genius, we believe your small space should inspire creativity, not limit it.
Adapting Dividers for Small Apartments and Studios
Small apartments and studios are where diy room divider solutions truly shine. The right divider can transform a single room into a home with distinct living, sleeping, and working zones—all without making the space feel cramped.
The secret to success in small spaces is to think vertically, keep things light, and accept flexibility. These principles are key to creating a functional home in a compact footprint.
Going vertical is your first strategy. Hanging dividers use zero floor space. A suspended macrame panel, fabric on a ceiling track, or even beaded curtains create a boundary without clutter. Tall, narrow bookshelves also provide division and vertical storage. For more inspiration, explore our guide on how to Maximize Vertical Space in Small Spaces.
Light is your best friend in a small apartment. Avoid dividers that block natural light. Instead, use translucent materials that provide privacy while letting brightness flow through.
Polycarbonate panels are a game-changer. The IKEA IVAR hack uses them to create privacy without darkness. You can buy sheets for around $100, cut them to size, and create a divider that offers solitude without sacrificing light. Frosted glass or acrylic sheets work similarly.
Often, the most effective dividers aren’t solid. Rope walls, macrame, and plant dividers create visual boundaries while allowing light and air to pass through. Strategic placement is also key; position your divider to allow natural light to reach the entire room.
Flexibility is key when space is tight. Sliding dividers offer ultimate adaptability. Use large doors on tracks to create a movable wall that opens for an open-plan feel and closes for privacy. It’s like having two layouts in one.
Pony walls (half-height walls) are another clever option. They create separation without blocking light or sightlines and are simpler to build than full walls. The top can also serve as a shelf.
The beauty of adapting diy room divider ideas for small apartments is that you’re not sacrificing openness for function—you’re finding creative ways to have both. For comprehensive strategies on making every inch count, check out our Tiny Apartment Design: The Ultimate Guide.
Frequently Asked Questions about DIY Room Dividers
We hear from readers all the time about diy room divider projects. Let’s tackle some of the most common concerns.
What is the cheapest way to divide a room?
Curtains with tension rods are the cheapest and easiest option, costing just $25-$50. They require no drilling, making them perfect for renters.
Another budget-friendly choice is a PVC pipe frame with fabric panels, which can be built for as little as $25. It’s lightweight and customizable.
Finally, don’t overlook repurposed materials. Free wood pallets, thrifted bifold doors, or salvaged window frames can be transformed into unique dividers with a bit of creativity, offering incredible cost savings.
How do you make a freestanding room divider stable and safe?
A stable diy room divider is crucial for safety. Ensure stability with these tips:
- Use a wide, sturdy base: Add feet or a platform to panel dividers to lower their center of gravity and prevent tipping.
- Secure it to a wall: Whenever possible, use L-brackets to attach tall dividers (like bookcases) to a wall stud. This is the safest method.
- Distribute weight properly: On shelving units, place the heaviest items on the bottom shelves to anchor the divider.
- Choose appropriate materials: Ensure your materials and structure are balanced and suitable for the divider’s height.
- Consider placement: Avoid high-traffic areas to prevent accidental bumps.
How can a room divider provide both privacy and light?
It’s absolutely possible to have both privacy and light. Here’s how:
- Use translucent materials: Polycarbonate panels, frosted glass, or acrylic sheets obscure views while allowing light to filter through, keeping the space bright.
- Choose dividers with open designs: Rope walls, macrame panels, and beaded curtains create visual separation without blocking light or airflow.
- Create a plant divider: A “living wall” of plants offers natural privacy while letting light pass through the leaves. It also improves air quality.
- Use strategic placement and design: A half-height pony wall provides separation without blocking light overhead. An open-backed bookcase also allows light to pass through, especially when styled with light-colored objects.
Conclusion: Build the Perfect Divider for Your Home
You’ve just explored a world of creative possibilities for changing your space with a diy room divider. From simple curtain installations to stunning IKEA hacks, you now have the inspiration to tackle a project that fits your lifestyle.
A well-designed divider brings defined functional areas, increased privacy, clever storage, and personalized style to your home. Whether in a studio apartment or an open-plan layout, a handmade divider offers flexibility and affordability.
The projects we’ve explored range from $25 for simple solutions to around $300 for more elaborate designs, with options for every budget and skill level. Most require only basic tools and a willingness to try something new.
At Tiny Living Genius, we believe in empowering you with smart solutions for compact living. A custom room divider is one of the most effective ways to make your small space work for you. Don’t be intimidated—measure carefully, plan thoughtfully, and let your creativity guide you. The most rewarding projects solve your specific challenges while adding beauty to your life.
Ready to continue changing your compact home? Explore more space-saving furniture ideas and find even more ways to create an organized and stylish living experience. Your diy room divider is just the beginning.

